Save
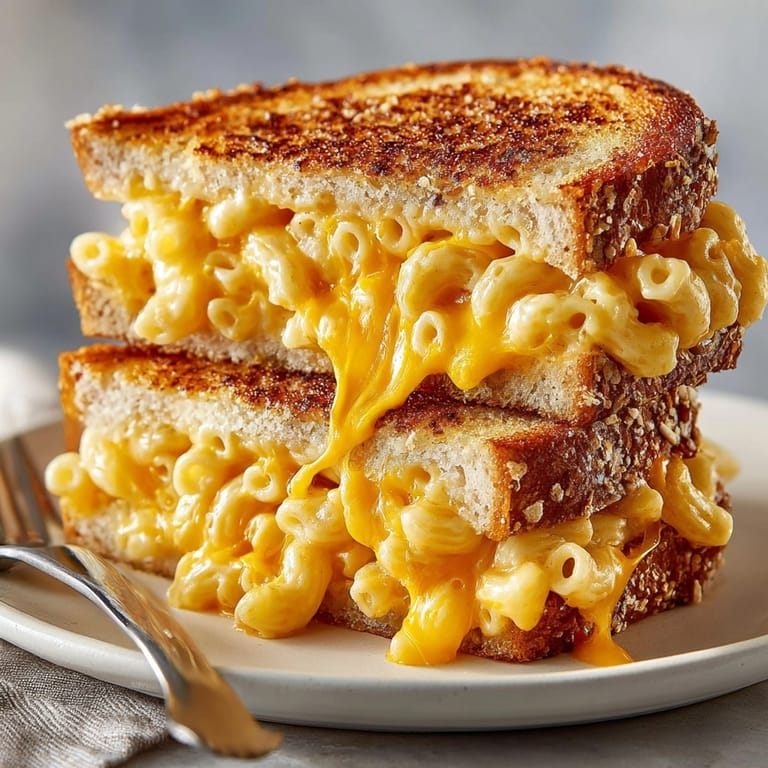
Save This Mac and Cheese Grilled Cheese merges creamy stovetop mac with plenty of gooey cheddar and crisp, buttery bread. Whenever my family is craving pure comfort, this is our go-to treat for those nights when only the cheesiest, meltiest sandwiches will do.
I first made this on a rainy Saturday to cheer everyone up and it instantly became our most-requested lunch for movie marathons and snow days. Melting mac and cheese right between slices of sourdough is just an unbeatable move for maximum satisfaction.
Ingredients
- Elbow macaroni: These short tubes hold cheese perfectly so each bite is creamy
- Shredded sharp cheddar cheese: Intensifies the cheesy flavor in both the pasta and sandwich filling
- Whole milk: Helps make the mac ultra-creamy
- Unsalted butter: Essential for building creaminess in both mac and grilled bread
- Sourdough or white sandwich bread: Classic soft slices that crisp up beautifully when buttered and grilled
- Dry mustard powder: Adds subtle depth to the cheese filling
- Ground black pepper: For a gentle kick throughout
- Salt: Brings out all the flavors in pasta and cheese
- Extra shredded cheddar: Sprinkled on top of the mac for ultra-gooey sandwich filling
Tired of Takeout? 🥡
Get 10 meals you can make faster than delivery arrives. Seriously.
One email. No spam. Unsubscribe anytime.
Instructions
- Prepare the Mac and Cheese:
- Fill a medium saucepan with the measured water and salt. Bring to a strong boil over high heat. Add elbow macaroni and stir well so the pasta does not stick. Cook uncovered for about eight minutes until the pasta is just tender with a slight bite. Drain completely and return the pasta to the pot while still warm.
- Make It Creamy:
- While the macaroni is hot, stir in the butter until every piece glistens. Pour in the milk, then add the shredded sharp cheddar along with black pepper and mustard powder if using. Stir constantly over low heat so the cheese melts smoothly. You want a creamy but slightly thick sauce that clings to the pasta. Remove from heat and let it cool for three to five minutes so the filling sets up.
- Assemble the Sandwiches:
- Set out all bread slices and use a knife to spread a thin layer of softened butter on one side of each. Place half the slices butter-side down onto a clean surface. Spoon a generous portion of the cooled mac and cheese onto the center of each slice aiming for about a third cup per sandwich. Sprinkle each pile of mac and cheese with extra shredded cheddar cheese. Place the remaining bread slices on top butter-side up pressing lightly to seal.
- Grill to Perfection:
- Preheat a large nonstick skillet or griddle over medium heat for two minutes so it is hot but not smoking. Using a spatula carefully transfer each sandwich into the pan. Cook for three to four minutes on the first side pressing gently with the spatula to create a golden crust. When deeply golden and crunchy flip and cook the other side the same way until the cheese is melted and the filling is hot throughout. Remove from the pan and let cool two minutes before slicing and serving.
 Save
Save My favorite thing to add is an extra handful of sharp cheddar right before closing up each sandwich. The extra layer of cheese on top of the macaroni creates that stretchy pull and makes every slice picture-worthy. My kids call this their superhero sandwich because it has their two favorite foods mashed into one truly epic bite.
Storage Tips
Leftover mac and cheese grilled cheese keeps for two days in the refrigerator. Place cooled sandwiches in a sealed container and reheat them in a skillet or air fryer to restore crispness. Avoid microwaving as it makes the bread soggy and the filling less creamy.
Ingredient Substitutions
You can swap the cheddar for Monterey Jack for a milder melt or use half Gruyere for extra depth. Use whole wheat or seeded bread if you love nutty crunch. Even the pasta can be changed to small shells if that is what you have on hand.
Serving Suggestions
Serve hot with a big bowl of tangy tomato soup for the classic pairing. For a fresh twist pair sandwiches with a citrusy salad or cut them into sticks for dipping into ranch or spicy ketchup. They also make amazing appetizers cut into small triangles for parties.
Cultural Touchpoint
This recipe spotlights two American comfort classics blending childhood nostalgia with grown-up grilled cheese cravings. The method mimics diner grilled cheeses while bringing stovetop mac right into the filling—it is a bit of play and a lot of deliciousness.
Seasonal Adaptations
Add thinly sliced tomatoes inside sandwiches in summer. Mix in roasted butternut squash into the mac for autumn. Try whole grain breads for extra heartiness in winter.
Success Stories
A friend once made a big batch of these for her kids baseball party and every adult in the crowd kept sneaking extras off the platter. No one could resist the crispy edges and cheesy centers.
Freezer Meal Conversion
To freeze make the mac and cheese and cool it fully. Assemble sandwiches and wrap tightly in foil before freezing. When ready to eat cook uncovered from frozen over low heat until golden and heated through adding a lid for the last minute to ensure the centers are hot.
 Save
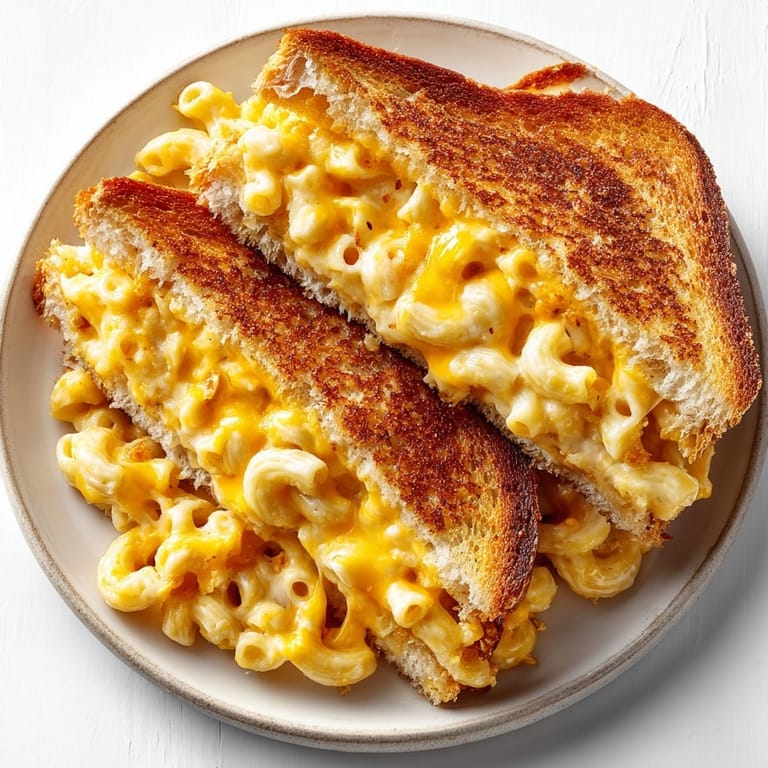
Save Dip these into tomato soup or enjoy them with a side salad for a complete meal. They are best served immediately to experience the ultimate crispy crust and gooey cheese pull.
Recipe FAQ
- → How do you prevent the sandwich from getting soggy?
Let the mac and cheese cool slightly before assembling. Use thick sliced bread and butter both outsides for a crispy seal.
- → Can I use other types of bread?
Sourdough and white sandwich bread work well, but try whole wheat, rye, or a hearty country loaf for variety.
- → What cheeses work best for melting?
Sharp cheddar creates a classic flavor, but Monterey Jack, Gruyère, or Fontina melt smoothly for variation.
- → How do I reheat leftovers?
Warm sandwiches in a skillet over low heat to restore a crispy exterior or use an oven to maintain texture.
- → What can I serve alongside?
This sandwich pairs perfectly with tomato soup, a crisp green salad, or potato chips for extra crunch.
- → Is it easy to make this vegetarian?
Yes, use vegetarian-friendly cheese and check all ingredient labels for animal rennet if needed.