 Save
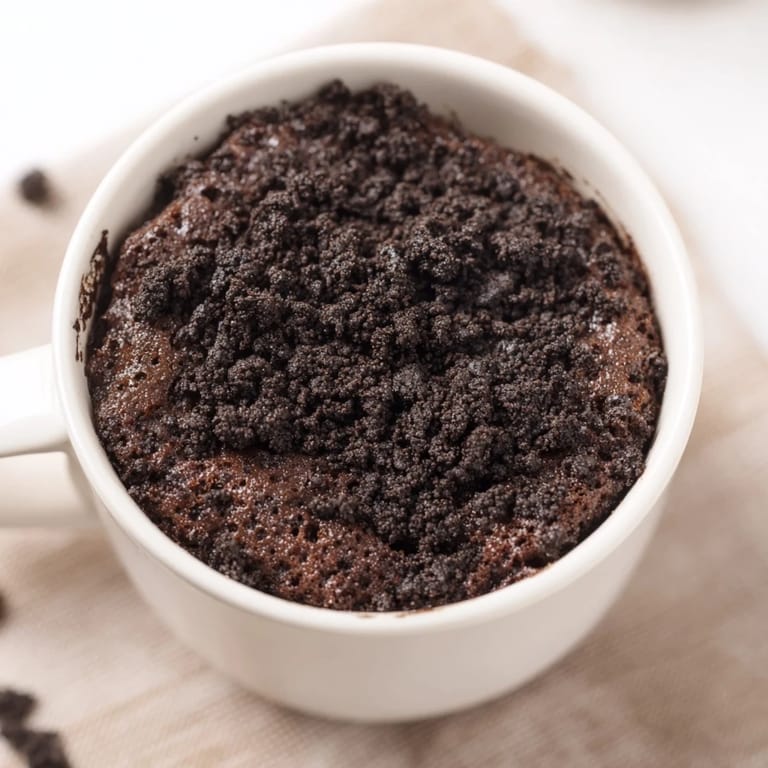
Save There's something magical about midnight snack cravings that lead you to the back of the pantry. One restless evening, I found myself staring at a sleeve of Oreos and wondering if I could somehow turn them into warm cake without firing up the oven. Five minutes later, I was holding a mug of actual chocolate cake, still steaming, tasting like I'd uncovered some delicious secret. It turns out the best desserts are sometimes the ones born from impatience and a microwave.
I made this for my roommate at 2 a.m. when she couldn't sleep before a big presentation, and watching her face light up as she pulled that warm mug from the microwave was worth every crumb. She ate it in about four bites while pacing around the kitchen, and I've never seen dessert consumed with such honest joy. Now whenever either of us needs a small moment of comfort, this is what we reach for.
Ingredients
- Oreo Cookies (4): These are your star ingredient and secret flavor base. The cookies dissolve into the batter, giving you that deep chocolate flavor without needing cocoa powder. Don't crush them into a fine powder; just break them down until they're in small, manageable pieces.
- Milk (3 tablespoons): This creates moisture and helps the crushed cookies form that essential paste. Use whatever milk you have—whole milk creates a richer cake, but any kind works.
- All-Purpose Flour (2 tablespoons): Keeps the cake from being pure cookie sludge and gives it actual structure. This small amount is enough to make a difference without making it dense.
- Granulated Sugar (1 tablespoon, optional): Oreos are already quite sweet, so taste your batter before adding this. If you like a less sweet dessert, skip it entirely.
- Baking Powder (1/4 teaspoon): The tiny helper that lifts your batter so it's fluffy instead of fudgy. Don't skip this or substitute it.
- Egg (1 small): Binds everything and creates a tender crumb. This is what makes it actual cake and not a cookie paste.
- Vanilla Extract (1/2 teaspoon, optional): A gentle background note that makes the chocolate sing. It's optional but honestly worth the splash.
Tired of Takeout? 🥡
Get 10 meals you can make faster than delivery arrives. Seriously.
One email. No spam. Unsubscribe anytime.
Instructions
- Crush and Soak Your Oreos:
- Place your four Oreos into a microwave-safe mug and use the back of a fork to break them down. Work them until most pieces are small crumbs, then add the milk and stir until you have a thick, dark paste that looks almost like chocolate hummus. It should hold together but still be stirrable.
- Build Your Dry Base:
- Sprinkle the flour, baking powder, and sugar (if using) over the paste and stir everything together gently. You're looking for one smooth, uniform texture with no streaks of flour. A few small lumps are fine, but mostly you want this mixed well.
- Bind It Together:
- Crack the egg directly into the mug and add the vanilla if you're using it. Stir until the batter is completely combined and smooth, with no egg streaks visible. The batter should look glossy and pour slightly when tilted.
- Microwave with Intention:
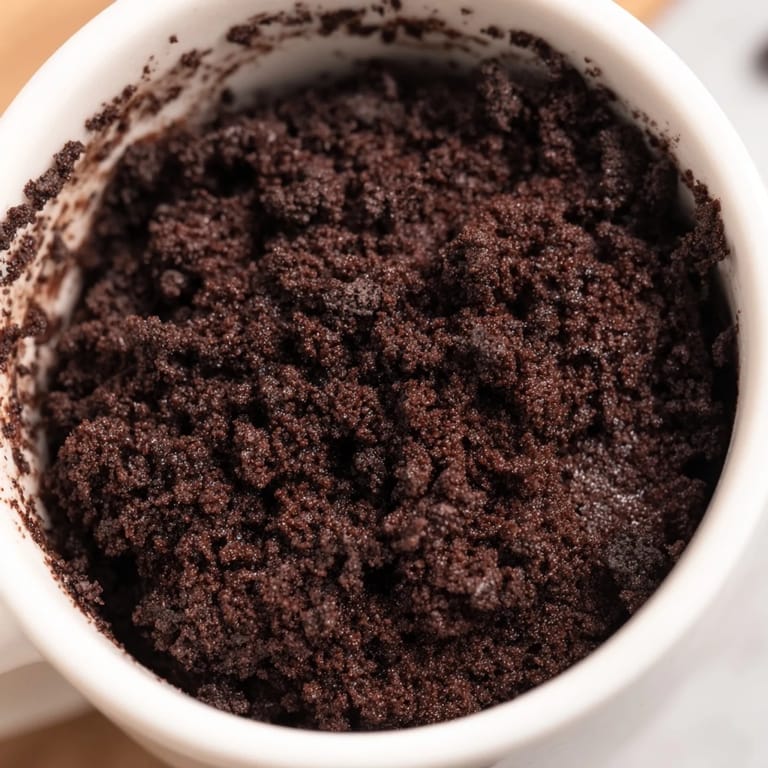
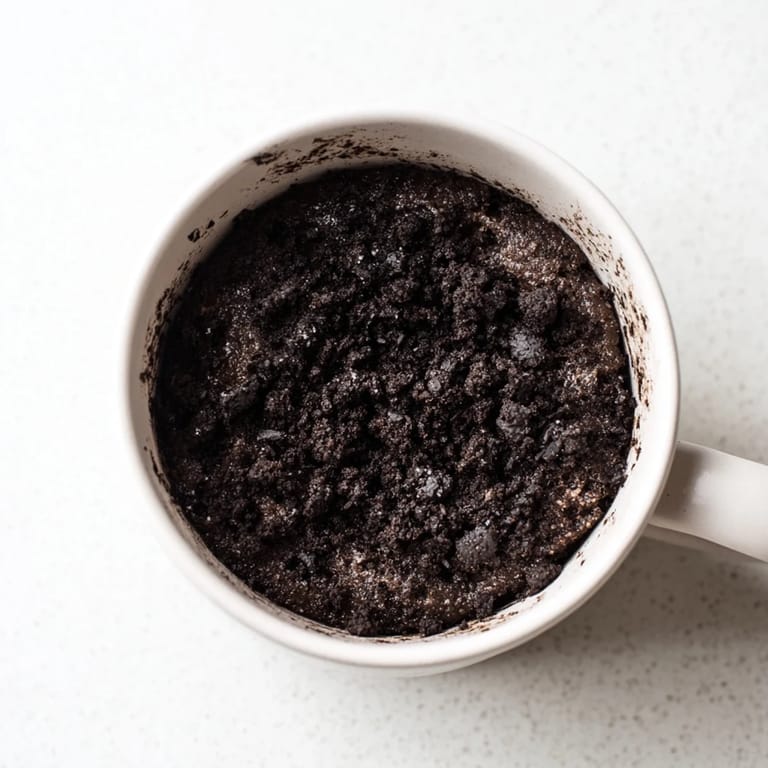
- Place the mug in the microwave and cook on high for 1 minute and 30 seconds. At this point, the top should look barely set but the center should still jiggle slightly when you tap the mug. If it's still quite wet, give it another 10 to 20 seconds. The residual heat will set it after you remove it.
- Cool Just Enough:
- Let the mug sit on the counter for 1 to 2 minutes so the outside edges firm up slightly. This isn't about making it cool, just taking the edge off the heat so you don't burn your mouth. Eat it straight from the mug while it's still warm and gooey.
 Save
Save The real moment I understood why this recipe mattered came when my six-year-old nephew declared this better than his birthday cake, made it his mission to learn how to make it himself, and now texts me photos of his attempts from his mom's kitchen. There's something powerful about a dessert simple enough for small hands to attempt, but impressive enough to feel like real cooking.
Why Microwaves Are Actually Perfect for This
There's a reason mug cakes exist: microwaves cook in a way that's different from ovens, and it's actually ideal for this situation. The microwave heats from many angles at once, cooking the mug cake evenly and fast without the dry edges you'd get from an oven. The moisture stays trapped inside, making you a fluffy, tender cake instead of a dense brick. It's physics working in your favor, not some kitchen hack that barely works.
Building Flavor Beyond the Obvious
While Oreos do most of the heavy lifting, there are subtle moves that shift this from good to genuinely memorable. The vanilla extract exists not to add vanilla flavor but to brighten what's already there, waking up the chocolate notes and making them feel more sophisticated. A tiny pinch of salt whispered into the dry ingredients—not even listed, but game-changing—rounds out the sweetness and adds depth. These aren't complicated moves, just small choices that show you care about what you're making.
Ways to Make It Yours
The beautiful part about mug cakes is that once you understand the foundation, your kitchen becomes the experimental zone. I've made versions with a small handful of crushed Oreo pieces sprinkled on top before microwaving, creating pockets of cookie crunch. Friends have topped theirs with whipped cream before eating, turning it into almost a cake parfait situation. The structure is solid enough that it can handle your instincts and creativity.
- Top with whipped cream, chocolate chips, or vanilla ice cream for extra decadence that melts into the warm cake.
- Substitute self-raising flour for the flour and baking powder to simplify your ingredient list even more.
- Add a tiny drizzle of chocolate syrup or peanut butter mixed into the batter if you want to layer flavors.
 Save
Save This recipe exists to remind you that the most satisfying desserts don't require elaborate planning or fancy equipment. Sometimes the quickest route to comfort is the right one.
Recipe FAQ
- → How do I crush Oreos for the mug dessert?
Use a fork to thoroughly crumble the Oreos directly in the microwave-safe mug until fine crumbs form.
- → Can I adjust the sweetness level?
Yes, omit or reduce granulated sugar since Oreos are already sweet, then adjust to taste.
- → What is the best cooking time in the microwave?
Cook on high for about 1 minute 30 seconds; if undercooked, add 10-20 seconds in increments.
- → Are substitutions possible for the flour?
Self-raising flour can replace all-purpose flour along with the baking powder for similar results.
- → How can I serve this dessert for extra flavor?
Top with whipped cream, chocolate chips, or a scoop of vanilla ice cream to enhance richness.
- → Is the dessert suitable for vegetarians?
Yes, it contains no meat but does include eggs and dairy products.