 Save
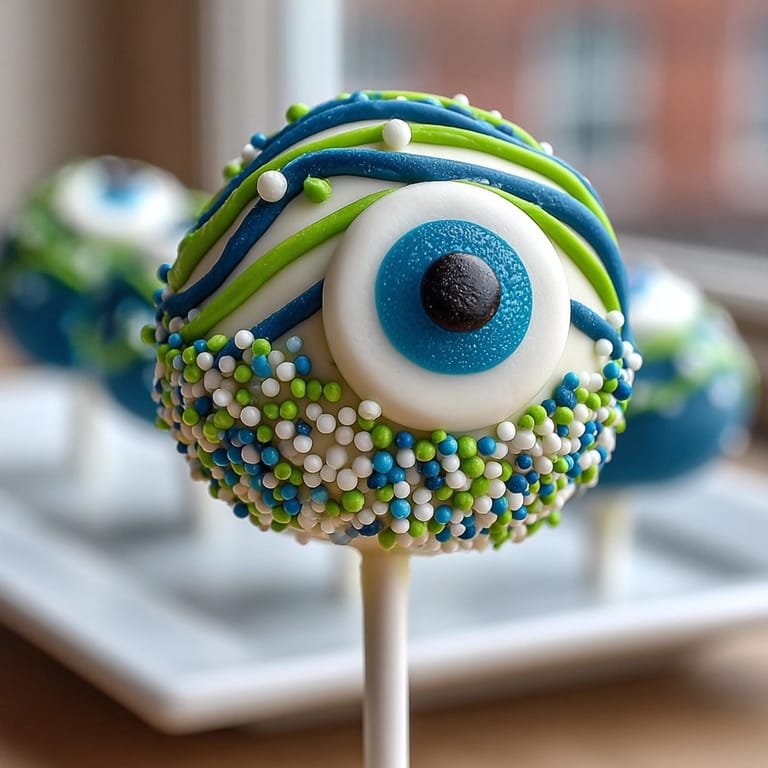
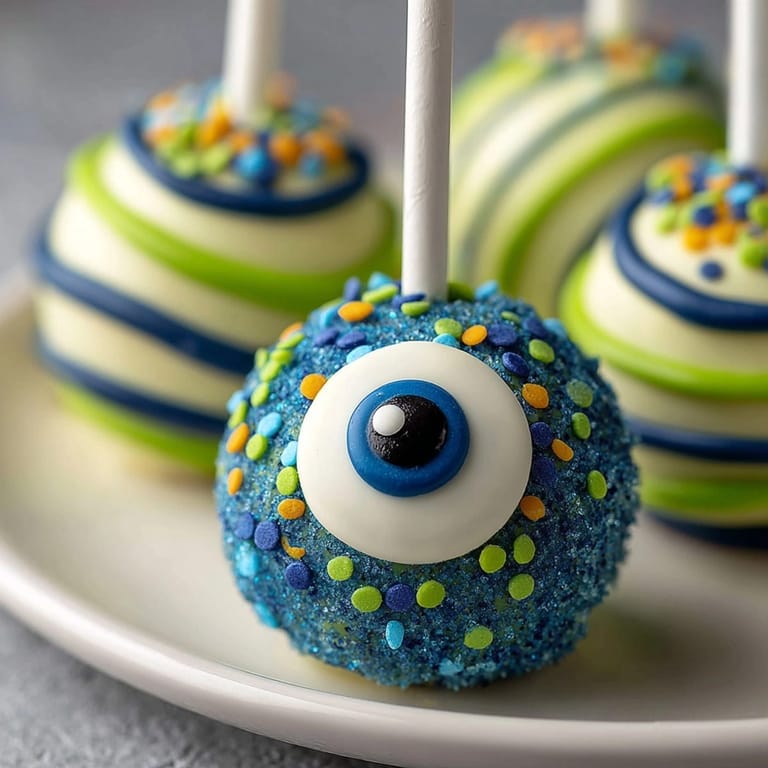
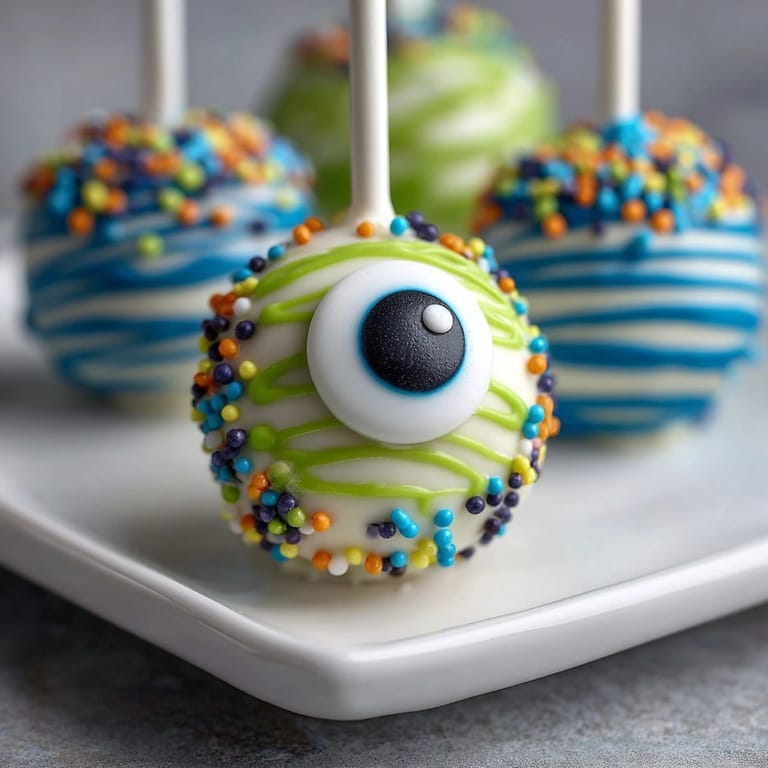
Save These Monster Eye Cake Pops transform an ordinary chocolate cake into playful, bite-sized monsters that light up any Halloween spread or birthday bash for little ghouls and goblins. With a moist chocolate crumb and creamy frosting center, dipped in a cloak of chocolate and eye-popping decorations, these treats are always the center of attention.
I love how kids (and adults) huddle around, picking their favorite “monster” to devour—the only challenge is making enough. I whipped up my first batch of monster pops with my kids on Halloween eve—now it’s a yearly tradition and the laughter as we “monsterized” each pop is as sweet as the treat itself.
Ingredients
- Chocolate cake mix: The foundation of the pops Go for a moist crumb—devil’s food or fudge is best and check labels for quality cocoa
- Cream cheese: Adds tanginess to the filling Use full-fat for a richer flavor and smooth texture
- Unsalted butter: Softened pairs with cream cheese Balances sweetness and richness Use high quality for best taste
- Powdered sugar: Sweetens the frosting and helps it bind to the cake crumbs Sift for a smoother mixture
- Vanilla extract: Rounds out the frosting flavor Choose real vanilla for depth over imitation
- White chocolate or candy melts: Creates the smooth coating White chocolate should be fresh not chalky or yellow Candy melts are easier for colors and setting
- Assorted gel food coloring: Adds personality and bold monster colors Gel colors work best for intensity without thinning the chocolate
- Large candy eyeballs: Essential monster detail Look for ones with clear centers that will stick well
- Vegetable oil: If needed, thins the chocolate for easy dipping Choose neutral oils only
- Black decorating gel: For adding eerie details like stitches or lashes Buy fresh tubes for easy piping
- Lollipop sticks: For assembly and serving Use sturdy sticks that will not bend
- Sprinkles: Optional but adds magical monster texture Choose bright colors or themed sparkle
Tired of Takeout? 🥡
Get 10 meals you can make faster than delivery arrives. Seriously.
One email. No spam. Unsubscribe anytime.
Instructions
- Bake the Cake:
- Bake your chocolate cake just as directed on the box Allow it to cool completely on a rack—resist the urge to rush as warm cake crumbles unevenly
- Mix the Frosting:
- Whip the cream cheese and butter together in a bowl until completely smooth and fluffy Add powdered sugar and vanilla extract and blend until creamy with no lumps
- Make the Cake Ball Mixture:
- Crumble the cooled cake into fine crumbs in a large bowl Pour in the frosting mixture and stir or knead until everything bonds together Test by pressing a scoop in your hand It should stick like soft dough without being greasy
- Shape and Chill the Cake Balls:
- Scoop out even portions about one and a half tablespoons each Use damp hands to roll into balls Place on a lined baking sheet to avoid sticking Chill in the freezer for twenty minutes so they get firm but not rock solid
- Melt the Coating:
- Carefully melt white chocolate or candy melts in a microwave-safe bowl using short thirty-second blasts Stir thoroughly with each blast Add a little vegetable oil for a thinner consistency but only a few drops at a time
- Insert Sticks:
- Dip one end of each lollipop stick into the melted chocolate Push about halfway into each chilled cake ball This becomes tasty “glue” to secure the stick Let them chill upright for a few minutes so the chocolate sets
- Coat the Cake Pops:
- Dip each pop into the melted chocolate coating Twirl gently to cover completely Tap carefully against the bowl to remove extra coating It should be even but not too thick
- Decorate Your Monsters:
- Before the coating hardens press a large candy eyeball into the center Create monster effects by swirling colored chocolate using gel food coloring or drizzling with a spoon While still wet add sprinkles or pipe black gel for scars and laughs
- Set and Serve:
- Place the finished pops upright in a styrofoam block or cake pop stand Allow them to set and harden completely This can take about thirty minutes at room temperature
 Save
Save These cake pops always remind me of my youngest picking out the “silly” monster with two candy eyes that somehow melted sideways It is the little “imperfections” that make every batch feel special and unique
Storage Tips
Keep finished pops in an airtight container at room temperature for two to three days or refrigerate for up to a week If you chill the pops let them come to room temp before serving for the best texture The chocolate coating protects the cake from drying out
Ingredient Substitutions
You can substitute gluten free cake mix for allergies or use a vanilla mix with chocolate frosting for a surprising twist Store bought frosting works in a pinch but homemade yields the richest cake center Candy melts can replace white chocolate and provide vibrant colors without needing food coloring For dairy free try vegan butter and plant-based cream cheese
Serving Suggestions
Arrange cake pops in a pumpkin or decorated vase for a spooky centerpiece Wrap individually for classroom treats or take home party favors Pair with apple cider for delicious contrast Watching guests choose their “monster” is half the fun and makes for great social moments at gatherings
Cultural and Seasonal Fun
Monster Eye Cake Pops are a classic treat for American-style Halloween parties but they also work for monster movie marathons or any zany celebration Change the colors for different holidays Green and red for Christmastime orange and white for Thanksgiving These pops are as adaptable as your imagination
 Save
Save Monster Eye Cake Pops freeze beautifully Chill thoroughly first then wrap each pop in cling film and store upright in a freezer bag or airtight container Thaw overnight in the fridge or for a couple of hours at room temp before serving This makes outrageous school lunchbox surprises or stress free last minute party treats
Recipe FAQ
- → How do I achieve smooth cake pop coating?
Melt white chocolate or candy melts slowly and add a bit of vegetable oil for easier dipping and a silky texture.
- → Can I use store-bought frosting?
Store-bought frosting works well as a quick alternative to homemade. Just ensure it binds the cake crumbs effectively.
- → How do I keep cake pops from falling off the stick?
Dipping the lollipop stick into melted chocolate before inserting into each ball helps create a secure hold.
- → Are there allergy-friendly options?
Opt for gluten-free cake mix and check candy and chocolate packaging for allergen info. Omit nuts if concerned.
- → How long can I store cake pops?
Store finished pops in an airtight container for up to three days at room temperature or refrigerate, if preferred.
- → Can I decorate in advance?
You can decorate cake pops ahead of time. Allow chocolate coating and decorations to set completely before storage.