 Save
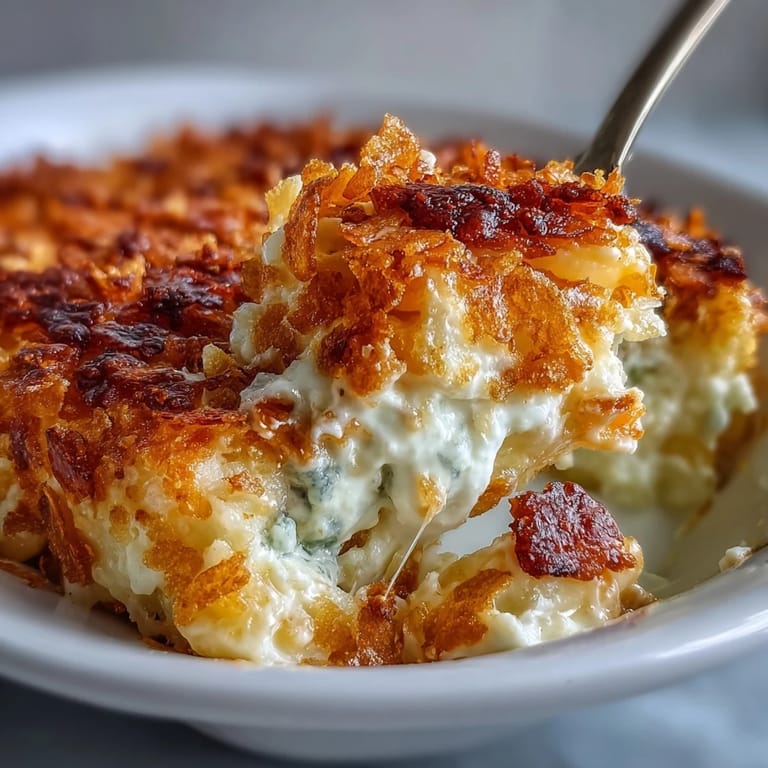
Save My aunt brought these to a church potluck years ago, and I watched people go back for thirds without realizing they were eating Greek yogurt instead of cream. There's something magic about taking a dish everyone expects to be heavy and making it feel just as indulgent with half the guilt. The crispy cornflake topping catches the light as it comes out of the oven, golden and crackling, and that's when you know you've nailed it.
I made this last winter for a dinner party where everyone was trying to eat lighter after the holidays, and the moment someone asked for the recipe, I knew I'd accidentally created something that works for both the health-conscious crowd and the comfort food devotees. That's the sweet spot right there—when nobody feels like they're missing out.
Ingredients
- Frozen shredded hash brown potatoes (1 28 oz bag, thawed): Thawing them ahead means you'll squeeze out excess moisture, which keeps the casserole from getting watery and ensures every bite stays creamy instead of soggy.
- Reduced-fat shredded cheddar cheese (1 ½ cups): The reduced-fat version melts beautifully and doesn't separate like some lighter cheeses can, plus it keeps the dish from feeling heavy.
- Diced yellow onion (½ cup) and minced garlic (2 cloves): These two are the flavor foundation—the onion becomes sweet and mellow when cooked, while garlic adds that savory backbone.
- Kosher salt and ground black pepper: Season as you go rather than all at once, so flavors develop evenly throughout the layers.
- Plain Greek yogurt (1 ½ cups, 2% or nonfat): Use the plain version so you control the flavor, and don't buy the non-fat unless you like a thinner sauce—2% gives you the creamiest texture.
- Low-sodium chicken or vegetable broth (¾ cup): Low-sodium matters here because the cheese and yogurt already bring salt, and you want to taste the actual flavors underneath.
- Olive oil (1 tablespoon) and all-purpose flour (1 tablespoon): These create a tiny roux that thickens the sauce without cream, which is the secret to keeping this dish lighter.
- Onion powder and garlic powder (½ teaspoon each): These dried powders add depth without making the sauce watery, which fresh versions would do.
- Cornflakes (2 cups, lightly crushed) and melted unsalted butter (2 tablespoons): Crush them by hand so you get a mix of textures—some fine crumbs and some bigger pieces that stay crunchy.
Tired of Takeout? 🥡
Get 10 meals you can make faster than delivery arrives. Seriously.
One email. No spam. Unsubscribe anytime.
Instructions
- Set up your workspace:
- Preheat the oven to 350°F and grease your 9x13-inch baking dish lightly with butter or cooking spray so the potatoes don't stick. Having everything prepped and ready means you won't be scrambling when the sauce is thickening.
- Build the flavor base:
- Heat olive oil in a large skillet over medium heat, then add diced onion and cook until it's translucent and soft, about 3 minutes. Add minced garlic and cook for just 1 more minute—you want it fragrant but not brown, or it'll taste bitter.
- Make the roux:
- Sprinkle flour over the onion mixture and stir constantly for 1 minute to cook out the raw flour taste. This small step is what gives your sauce body and keeps it from being thin and watery.
- Add the broth carefully:
- Pour in the broth gradually while whisking constantly so you don't get lumps, and let it thicken for 2 to 3 minutes until it coats the back of a spoon lightly. This is when you'll see it transform from loose liquid to something creamy and luxurious.
- Cool and combine with yogurt:
- Remove from heat completely, then stir in the Greek yogurt along with onion powder, garlic powder, salt, and pepper until everything is smooth and creamy. Waiting to add the yogurt off heat keeps it from getting thin or breaking.
- Mix potatoes and sauce together:
- In a large bowl, combine the thawed hash browns, shredded cheddar, and the yogurt sauce, stirring until every potato is coated and the cheese is evenly distributed. This is your moment to taste and adjust seasoning if needed.
- Assemble in the baking dish:
- Spread the potato mixture evenly into your prepared dish so it bakes uniformly and nothing gets overly brown on the edges. A spatula or the back of a spoon works great for evening everything out.
- Prepare the crispy topping:
- In a small bowl, toss the lightly crushed cornflakes with melted butter until every piece is coated with a slight shine. Butter is the secret to keeping them crispy during baking instead of turning to mush.
- Top and bake:
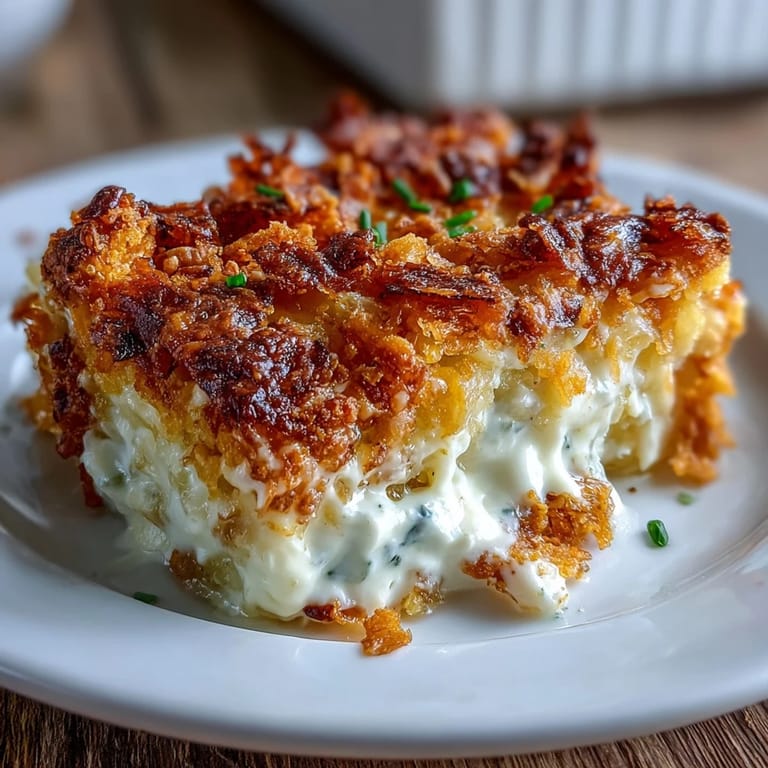
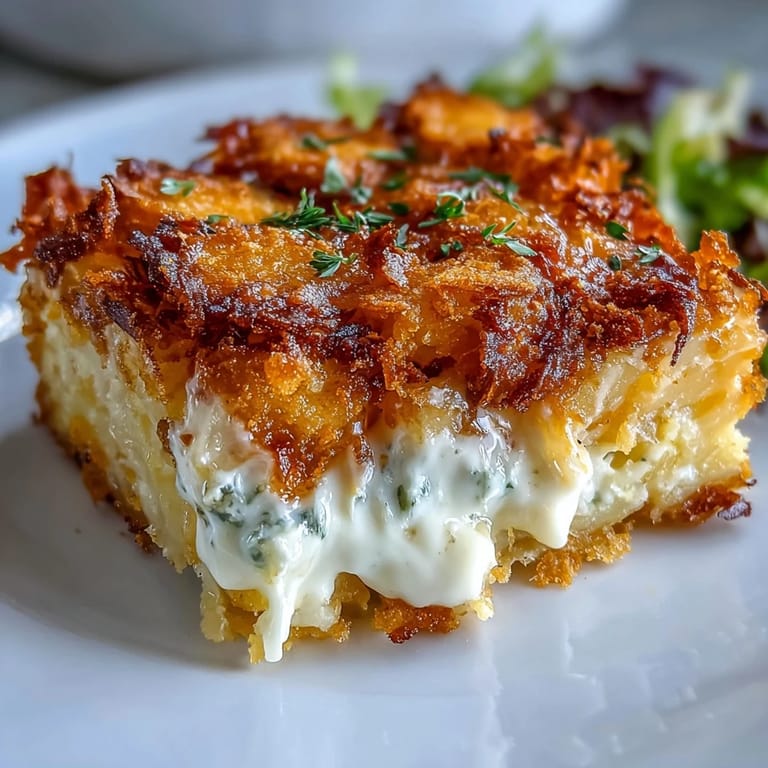
- Sprinkle the buttered cornflakes evenly over the casserole and bake uncovered for 40 to 45 minutes until the edges are bubbling and the top is golden brown and crunchy. You'll know it's done when you can smell the toasted corn and cheese mingling together.
- Rest before serving:
- Let the casserole cool for 5 to 10 minutes so it sets slightly and won't fall apart when you scoop it. This short rest also makes serving so much cleaner and allows flavors to settle.
 Save
Save There was a moment last spring when my sister asked me to make this for her family dinner after months of everyone eating stricter, and when they came back for seconds without mentioning how 'healthy' it was, I realized this dish had quietly become the bridge between wanting to feel good and wanting to feel satisfied. That's what I love about it most.
Why This Recipe Works Better Than the Original
The traditional version relies on canned cream soup and heavy cream to get that rich, velvety texture, but Greek yogurt does the same thing with a fraction of the fat and way more protein. What surprised me is that the yogurt adds a subtle tang that actually makes the cheese flavor taste more pronounced instead of muffled by all that cream—it's like turning up the volume on a song you already loved. The cornflake topping keeps everything from feeling too soft or one-note, giving you actual textural contrast with every bite.
How to Make It Your Own
The beauty of this casserole is that it handles additions really well without falling apart, so once you've made it once and know how it behaves, you can start playing with it. I've stirred in roasted jalapeños when I wanted heat, chopped green onions for freshness, and even crispy bacon pieces for people who wanted that smoky flavor. Some nights I'll add half a cup of frozen peas right into the potato mixture, and they thaw during baking without turning mushy or dull.
Storage, Reheating, and Make-Ahead Tips
This dish is actually one of the best candidates for making ahead, which makes it perfect for busy weeks or when you're bringing something to a gathering. You can assemble the entire casserole the night before, cover it tightly with plastic wrap, and bake it straight from the fridge—just add 5 to 10 extra minutes to the baking time so the cold center warms through. Leftovers keep beautifully for up to 4 days in an airtight container, and reheating is simple: either bake it covered at 325°F for about 20 minutes until warm, or scoop portions into a skillet over medium heat and warm gently so the cornflake topping doesn't burn. If you're freezing it, do that before baking, and it'll keep for up to 3 months—just add 15 minutes to the bake time and cover with foil for the first 25 minutes so the topping doesn't brown too fast.
- Make it the night before so flavors meld and you have less stress on serving day.
- Reheat covered at 325°F instead of higher temperatures so the yogurt sauce stays creamy and doesn't separate.
- Freeze unbaked casseroles for up to 3 months, and bake directly from frozen with just a few extra minutes added to the time.
 Save
Save This casserole has become my answer to so many occasions—when someone's having a hard time and needs food, when friends are gathering and everyone wants to eat a little lighter, when you're tired but want something that tastes like comfort. It's proof that taking care of yourself and indulging aren't actually enemies.
Recipe FAQ
- → What type of potatoes are best for this dish?
Frozen shredded hash browns work perfectly, offering convenience and consistent texture throughout the bake.
- → Can I use dairy-free yogurt alternatives?
Yes, substituting plain vegan yogurt can maintain creaminess while accommodating dietary preferences.
- → How do I achieve a crispy topping without burning?
Lightly crushing cornflakes and mixing them with melted butter before sprinkling helps create a golden crust without burning during baking.
- → What can I add for extra flavor?
Incorporating chopped green onions or diced bell peppers into the potato mixture adds fresh flavor and color.
- → Is this suitable for gluten-free diets?
Using gluten-free flour and gluten-free cornflakes ensures the dish remains gluten-free while keeping its texture intact.