 Save
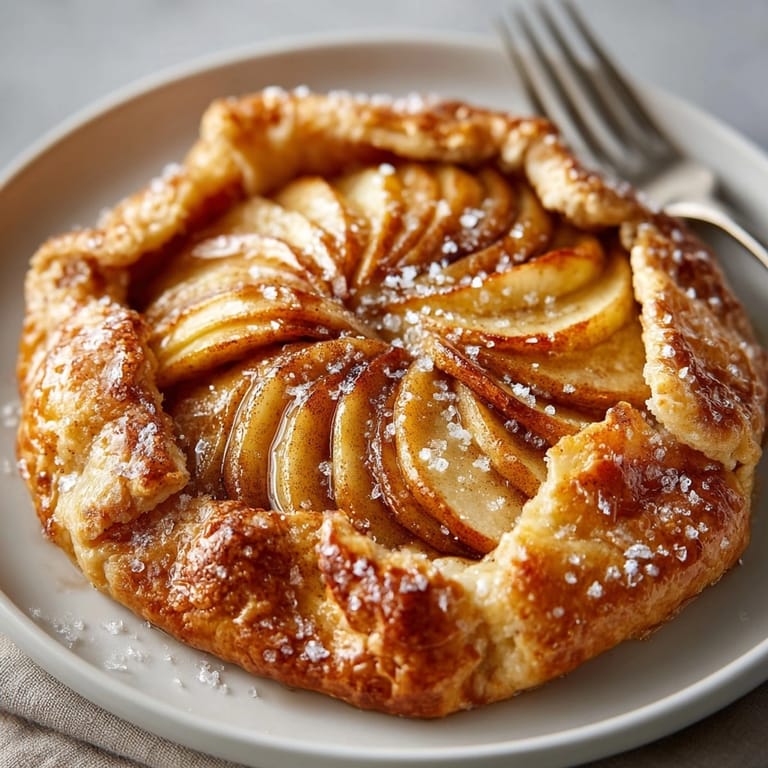
Save This Cinnamon Apple Galette brings together buttery pastry and gently spiced apples for a dessert that is both rustic and elegant. It is my go-to recipe when apples are in season or I need a showstopper that is forgiving and unfussy. Each slice promises flaky crust and fragrant fruit, making it a perfect end to any meal or cozy afternoon treat.
The first time I baked this galette was after apple picking with my family. We had so many apples I could not stand to let them go to waste and now this tart is part of our autumn routine.
Ingredients
- All-purpose flour: gives the crust its structure and delicate crumb. Use a brand with medium protein for best results.
- Unsalted butter: brings rich flavor and flakiness. Always start with butter straight from the fridge, very cold.
- Granulated sugar: sweetens the dough and helps with browning. Choose organic cane sugar for a cleaner flavor if you wish.
- Fine sea salt: balances the sweetness and deepens flavor. Avoid table salt as it can be too harsh.
- Ice water: helps the dough form together without melting the butter. Make sure it is very cold for best texture.
- Apples: bring tang and juiciness. Choose Granny Smith for tartness or Honeycrisp for fragrance, and look for fruit that feels heavy and firm.
- Light brown sugar: adds caramel notes and sweetness. Dark brown will make the filling richer if you like.
- Ground cinnamon: provides warmth and signature spice. Freshly ground or from a newly opened jar is best.
- Ground nutmeg: plays a supporting role in the spice mix. A microplane and whole nutmeg really elevate this.
- Lemon juice: keeps the apples fresh and bright. Pick ripe lemons and avoid bottled versions.
- Egg wash: gives shine and golden color to the crust. Use the freshest eggs you have.
- Coarse sugar: creates crunch and sparkle on the edges. Try turbinado or demerara sugar for a bakery finish.
- A dusting of flour in the filling: keeps the mixture from turning runny. Always spoon and level for accurate measuring.
Tired of Takeout? 🥡
Get 10 meals you can make faster than delivery arrives. Seriously.
One email. No spam. Unsubscribe anytime.
Instructions
- Make the Galette Dough:
- Begin by whisking flour, sugar and salt in a large mixing bowl. Scatter in the cold butter cubes and use your fingertips or a pastry blender to work the butter into the flour. Aim for a texture that looks like sandy pebbles with a few bigger pieces. Drizzle in the ice water one tablespoon at a time, stirring only until the dough holds together with no dry patches. Gently press into a disk, wrap tightly and chill for at least thirty minutes so the butter stays cold and the dough relaxes.
- Prepare the Apple Filling:
- In another bowl combine apple slices with brown sugar, cinnamon, nutmeg, lemon juice and flour. Toss well with your hands so every piece is coated and glistening. Let this sit while you roll out the dough to help the flavors meld.
- Shape and Fill the Galette:
- Lay a large piece of parchment on your counter and dust lightly with flour. Put the chilled dough in the center and roll it into a twelve inch circle with even thickness. Move the parchment and dough onto a baking sheet for easy transfer. Mound the apple filling into the middle of the dough and spread into an even layer leaving a two inch border all around.
- Fold and Finish the Edges:
- Starting at one point, lift the edge of the dough and fold it up over the apples, pleating every few inches. Work your way around until you have a rustic freeform tart with the apples peeking out. Brush the folded edges gently with beaten egg and sprinkle with coarse sugar if you like an extra crunch.
- Bake the Galette:
- Place the baking sheet in the oven and bake at four hundred degrees Fahrenheit for thirty five to forty minutes. The crust should be deep golden and the apples tender with bubbling juices at the edges. Let the galette cool for ten to fifteen minutes before slicing so the juices settle.
- Serve and Enjoy:
- Slice the galette into wedges and serve warm or at room temperature. I love pairing it with a scoop of vanilla ice cream or softly whipped cream for a classic finish.
 Save
Save Try using honeycrisp apples as they create a fragrant and juicy center that tastes like autumn in every bite. One of my favorite moments is when my daughter helps sprinkle sugar on the crust because she says it looks like fairy dust.
Storage Tips
Once cooled completely cover the galette loosely with foil and keep at room temperature for up to one day or refrigerate up to three days. The crust will stay crisp if you rewarm wedges in the oven before serving. Avoid sealing it in plastic which turns the crust soft.
Ingredient Substitutions
If you need a dairy free dessert swap in vegan butter with a high fat percentage for similar flakiness. Gluten free all purpose blends work as well but be sure to chill the dough thoroughly. You can try pears or a mix of apples and berries for a new twist and either omit the egg or brush with dairy free milk for the wash.
Serving Suggestions
A slice of galette is wonderful with creamy toppings like mascarpone or Greek yogurt when you want something less sweet than ice cream. Serve as part of a weekend brunch or alongside sharp cheddar for a French farmhouse feel. Slightly reheat in the oven for five to ten minutes for that fresh baked aroma.
Cultural and Historical Context
The galette is a French country tart shaped by hand not pressed into a pan. Traditionally made with whatever fruit was ripe it celebrated the end of summer harvests. Its freeform nature means every baker leaves their mark with folds and fillings making each galette a small work of art.
Seasonal Adaptations
Swap apples for ripe peaches or plums in summer Stir in a handful of cranberries for holiday color and zip Drizzle with maple syrup or honey for extra depth in winter
Success Stories
Many friends have written to say this was the first dessert recipe they dared to attempt and were stunned by both flavor and presentation. The homemade crust wins everyone over and even novice bakers are surprised by how impressive the results look. Family gatherings are extra special when there is a warm galette as the centerpiece.
Freezer Meal Conversion
Prepare the galette through the folding step and freeze unbaked on a sheet until solid then wrap well and store up to two months. When ready to bake let it sit at room temperature while the oven preheats and bake straight from frozen adding an extra five to ten minutes to the bake time for a fresh dessert any time.
 Save
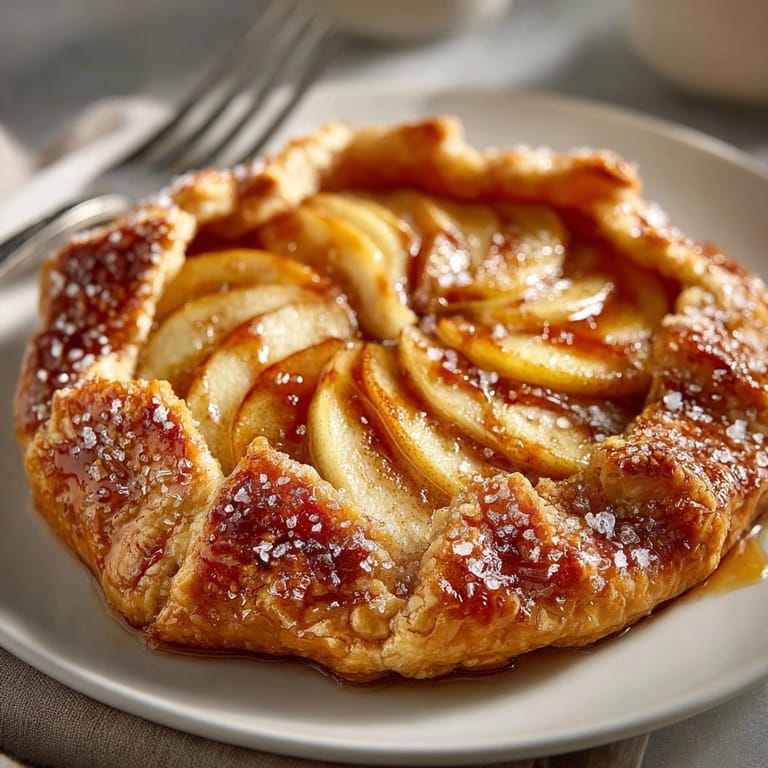
Save A homemade apple galette will impress at any gathering and its rustic charm welcomes all levels of baker. Your kitchen will smell heavenly as this golden tart emerges from the oven.
Recipe FAQ
- → What type of apples works best?
Granny Smith and Honeycrisp provide a balance of sweetness and tartness, keeping their shape when baked.
- → Why chill the dough before rolling?
Chilling ensures the butter stays cold, resulting in a flakier, crispier crust for your tart.
- → Can I use alternative fruits?
Yes, pears or cranberries work well for seasonal variation or to adjust flavor profiles.
- → How do I prevent a soggy bottom?
Lightly flouring the dough and using high-heat baking help keep the crust crisp beneath the apples.
- → What can I serve alongside?
Vanilla ice cream, whipped cream, or a drizzle of caramel sauce complement the galette beautifully.
- → Is the dessert suitable for vegetarians?
Yes, it's made with butter, eggs, and flour, making it vegetarian-friendly but not vegan.